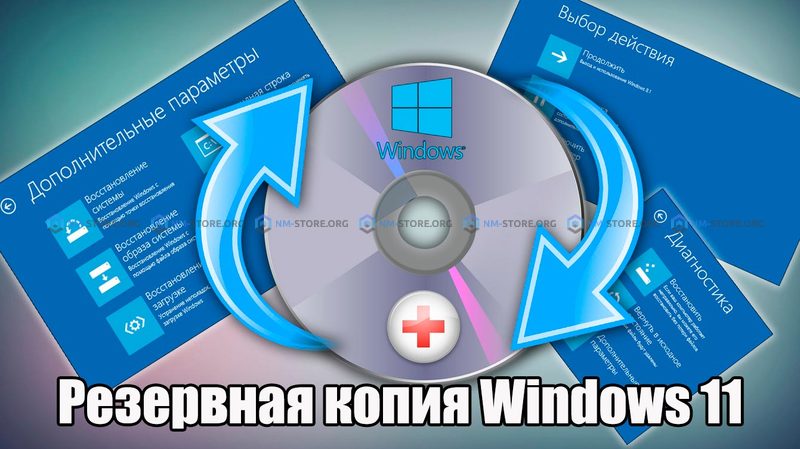
Not too many PC users are thinking about what a Windows 11 backupis. That's just when the very day comes that this copy is very much needed, it does not turn out and as a result, even bigger problems begin…
The need for a disk or USB drive with a backup copy of the OS is not just a given of modern fashion, but at most a necessity. The presence of a media with a backup copy of the Windows 11 system will allow any user to restore the operating system in a matter of minutes to the moment when still working Windows had no problems and failures.
In the instructions described below, we will tell you how you can make a backup copy of the system using standard features – without installing additional software developed by third-party developers. This method is the most practical and suitable for users who do not want to install unknown programs in the bowels of their device.
How to make a backup of Windows 11?
If you approach creating a backup copy of the system according to all the rules, then you need to initially clean the OS and optimize it, but many users neglect this step... Those who want to do everything "according to the rules" should perform the following actions:
- Launch the Disk Cleanup application;
- Delete all temporary files from the system;
- Defragment the hard disk;
If you perform all three of the above operations, you will notice that the backup being created will be much smaller and its creation process will be as fast as possible.
Now, you can start creating a backup copy of the system. In order for everything to go without problems, it is necessary to perform several steps described below alternately:
- Connect: a USB drive, a hard drive or, insert a DVD with enough memory to create a backup copy of the system;
- Go to the "Control Panel" → in the "All Control Panel elements" window that opens, select the viewing option — "Small icons" → click on "Backup and Restore" → select "System image creation".


- Now, a window will appear in front of you in which you will have to choose one of three items that will indicate exactly where the backup copy of the system will be stored.

- In the window "Which disks do you want to include in archiving?" - the system will automatically show you all those disks that are already included in the backup and without which the created backup copy cannot be started. You can also choose additional hard drives for archiving, if necessary. The only point that affects the hard disk on which everything will be saved is that it cannot be archived, therefore, it is worth using only external storage media, and not creating a backup copy on the internal HDD of the device.

- If you have done everything correctly, then already in the "Confirmation of archiving parameters" window you will be asked to review the list of disks and authorize archiving using the button of the same name - "Archive". Depending on your system and what exactly you are going to copy, the backup can be very large or, on the contrary, compact.

- Now, all you have to do is watch the window with the name "Creating a system image". After completing the image creation process, you will be asked the question "Do you want to create a recovery disk?" and already here it remains only to choose "Yes".


- If the entire archiving process was successful, then you will see the message "Archiving was successful" in the newly opened window, after which you can click on the "Close" button.

That's basically all, a copy of the Windows 11 system has been successfully created, an external drive or DVD media can be removed and put where it can always be taken from if such a need arises. After spending a little time, you were able to secure your system and yourself personally, since you have a tool at your disposal that allows you to restore the OS in the shortest possible time without third-party help, and using only the initially pre-installed capabilities of the system.


