Today, we will tell you about how you can implement quick access to disks in Windows 10, since not many users know about this solution in the tenth version of the operating system and due to this, they often use their usual option – click on the Start menu and already in in the newly opened window, select the disk they need. We, on the other hand, propose to make access to the disks by means of the "Back Panel" on which the "Label" will be fixed.
How to implement quick disk access in Windows 10?
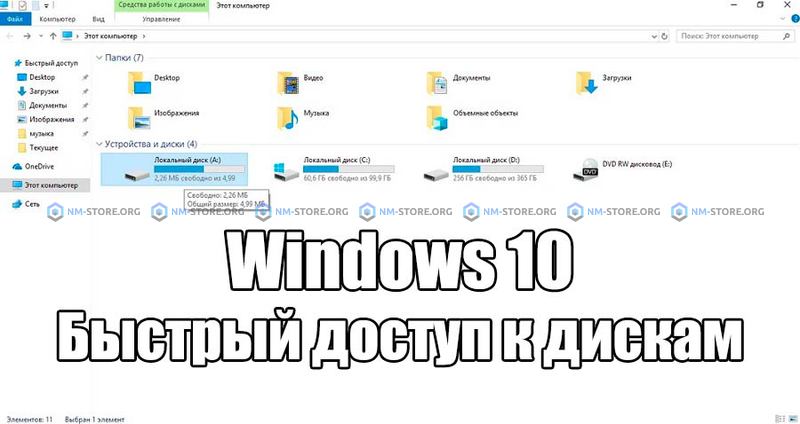
- To get started, you need to go to the section with hard drives and right-click on the hard drive that you want to pin to the "Taskbar" → in the context menu, select "Create shortcut" → if a warning appears, click on the "Yes" button, which will eventually allow you to place the one you created "Shortcut" to "Desktop".

- Next, find the newly created "Shortcut" on the "Desktop" and right-click on it → select "Properties" in the context menu.

- In the newly opened window, go to the "Shortcut" tab → after which, we find "Object" → and at the very beginning of the line, before the name of the hard disk, we write – explorer (do not forget to put problems after the "explorer" command) → click on "Ok".

- Pay attention to the fact that the icon has turned into a "File Explorer Folder", which means it's time to replace it: go to "Shortcut Properties" → click on "Change icon" → specify the path - C:\Windows\system32\imageres.dll → it remains to select the icon that will visualize the disk → click "Ok".

- The last action will be that you need to right-click on the "Shortcut" → select "Pin to taskbar" → check that quick disk access in Windows 10 has been fully implemented and now you can use this option on the "Taskbar" without any problems. In addition, you can move the disk icon on the "Taskbar" and install it wherever you want.


